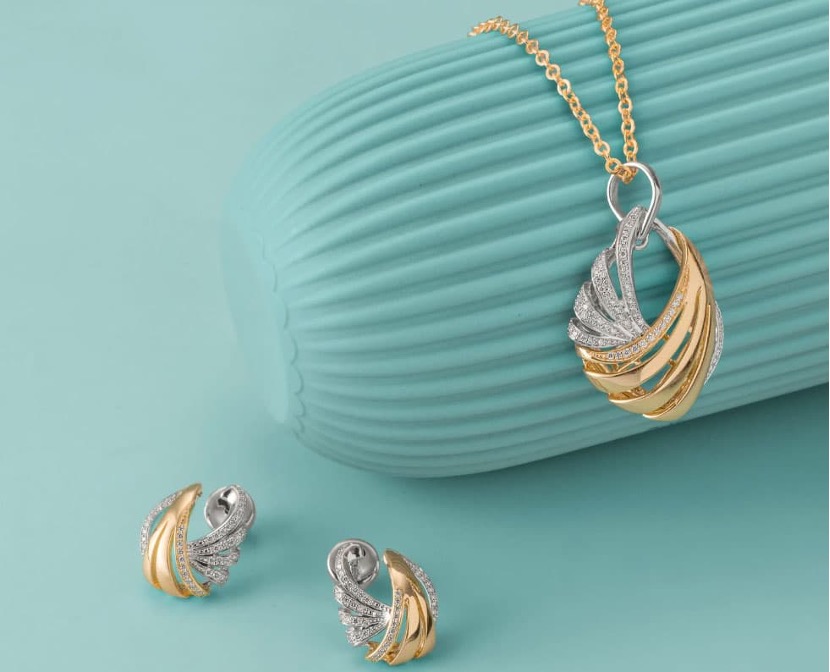
Have you ever found yourself with a single stud earring, mourning its lost mate and hesitant to part with its sentimental value? Fear not, for with a touch of ingenuity and a sprinkle of creativity, you can transform that lone earring into a chic necklace. This guide will show you how to repurpose your solo stud into a stunning necklace, giving it a new purpose and ensuring it remains a cherished part of your accessory collection. Not only will this solution breathe new life into your jewelry box, but it will also allow you to proudly showcase your favorite pieces in a whole new way.
Materials Needed
Before we embark on our jewelry transformation journey, let’s gather the essential materials. Here’s what you’ll need:
- Stud Earrings: Select your favorite pair of stud earrings to repurpose.
- Chain: Choose a chain that complements the style and color of your earrings. You can opt for gold, silver, or any other metal finish.
- Jump Rings: These small circular connectors will help attach the earrings to the chain securely.
- Pliers: A pair of jewelry pliers will be handy for opening and closing jump rings.
- Clasp: Depending on your preference, you can use a lobster clasp, spring ring clasp, or any other type of closure for your necklace.
Now that we have all the necessary materials, let’s move on to the exciting part – transforming your stud earrings into stylish necklaces!
How to Turn Your Stud Earring into a Necklace
Repurposing a single stud earring into a necklace is a fun and creative way to give your jewelry a second life. Here’s a simple step-by-step guide to help you transform your lone earring into a chic necklace:

Step 1. Choose Your Design
Before you begin, envision the design you want for your necklace. Will you feature a single earring as a pendant, or would you prefer a symmetrical look with earrings on both sides of the chain? Select a design that resonates with your personal style and aesthetic preferences.
Step 2. Prepare the Earrings
Start by removing the backings or posts from your stud earrings using pliers. You want the earrings to lay flat against the chain, so ensure that any protruding parts are removed.
Step 3. Attach Jump Rings
Take a jump ring and use your pliers to open it by twisting it sideways. Thread the open jump ring through the loop or hole of the stud earring, then close it securely using your pliers. Repeat this step for the second earring if you’re creating a symmetrical design.
Step 4. Measure and Cut the Chain
Determine the desired length of your necklace and use wire cutters to trim the chain accordingly. Remember to leave extra length for the clasp and any adjustments you may need.
Step 5. Attach Clasp
Open another jump ring and thread it through one end of the chain. Add your chosen clasp to the jump ring, then close it securely with your pliers. Repeat this step on the other end of the chain to complete the necklace.
Step 6. Attach Earrings to the Chain
Open the jump ring attached to the stud earring and thread it through the chain. Close the jump ring securely with your pliers, ensuring that the earring is attached firmly to the chain. Repeat this process for the second earring if applicable.
Step 7. Final Touches
Once the earrings are securely attached, inspect your necklace for any adjustments or loose connections. Ensure that everything is aligned and balanced before wearing your newly created accessory with pride!
Conclusion
Congratulations, you’ve successfully transformed your stud earrings into stunning necklaces! With just a few simple steps and some creativity, you can breathe new life into your jewelry collection and create unique accessories that reflect your style. Experiment with different designs, chains, and earrings to unleash your creativity and make a statement with your jewelry. Get ready to turn heads and dazzle with your one-of-a-kind creations!

