In the world of beekeeping, queen excluders are a vital piece of equipment that can significantly improve hive management and honey production. However, if not installed carefully, they can cause stress or confusion in your colony. In this post, we’ll guide you through the gentle installation of a queen excluder so you can manage your hives effectively while minimizing disturbance to your bees.
What Are Queen Excluders and Why Are They Important?
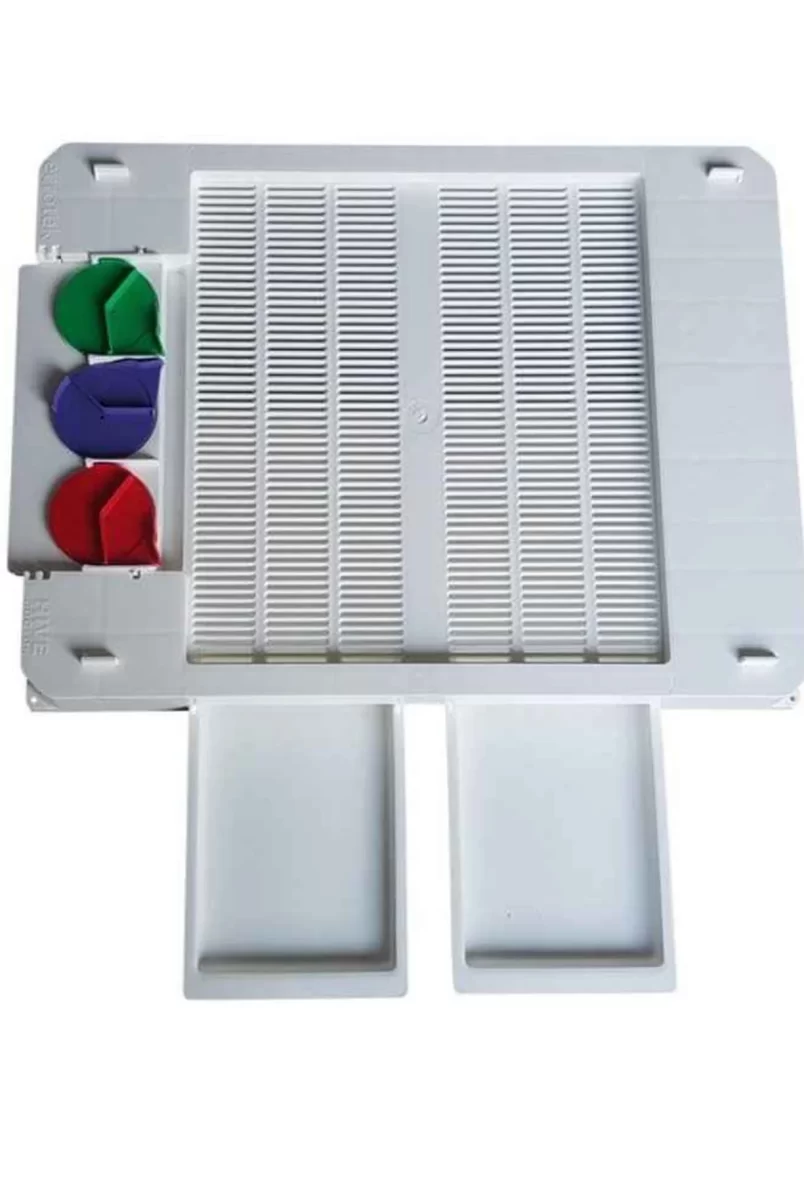
A queen excluder is a flat, mesh-like tool placed between the brood box and the honey super in a beehive. It allows worker bees to pass through but blocks the queen bee due to her larger size. The primary function is to keep the queen from laying eggs in the honey super, ensuring the honey you harvest is brood-free and cleaner.
Installing a queen excluder can help with:
- Queen bee containment
- Increasing honey yield in the super
- Improving hive hygiene and inspection management
Despite these benefits, improper or poorly timed installation can disrupt the colony’s natural rhythm. Understanding the correct approach is essential for successful and stress-free beekeeping.
When Is the Best Time to Install a Queen Excluder?
Timing plays a significant role in successful queen excluder installation. If you install it too early or in the wrong conditions, the bees may resist it, or worse, the queen might become trapped in an undesirable section of the hive.
Ideal Conditions for Installing a Queen Excluder:
- Spring or early summer when bees are actively foraging
- After confirming that the brood box is filling up and the colony is strong
- When the nectar flow begins, so worker bees are encouraged to move through the excluder
- During a routine hive inspection, when bees are already being gently disturbed
Avoid installing during cold, rainy days or dearth periods. Bees are more sensitive during these times, and minimizing hive disruption is even more critical.
Beehive Setup: Tools and Equipment You’ll Need
Before installing, gather your beekeeping equipment for a smooth and efficient process:
- Smoker to gently calm the bees
- Hive tool to lift and adjust hive boxes
- Queen excluder (clean and debris-free)
- Protective gear (bee suit, gloves, veil)
- Optional: sugar water spray to distract bees if needed
Being well-prepared ensures that you can complete the task quickly, reducing the amount of time the hive is open.
Step-by-Step Guide: Installing a Queen Excluder Without Disturbing the Colony
Here’s how to install your queen excluder with minimal interference:
Step 1: Calm the Hive
Use your smoker lightly at the entrance and under the lid. This helps signal bees to move down and become less defensive. Wait a moment before opening the hive.
Step 2: Open the Hive Gently
Remove the outer and inner covers slowly to avoid jarring the bees. Be deliberate and calm in your movements. This is crucial to gentle hive management.
Step 3: Inspect the Brood Box
Before placing the queen excluder, do a quick hive inspection. Make sure the queen is not in the top box (if you’re using multiple brood boxes). If needed, locate her and return her to the bottom box. This step is essential for proper queen bee containment.
Step 4: Install the Queen Excluder
Place the queen excluder between the brood box and the honey super. Ensure it sits flat and securely across the top bars. There should be no gaps that could injure bees or allow the queen through.
Step 5: Reassemble the Hive
Place the honey super back on top of the excluder and then the inner and outer covers. Use the smoker sparingly if bees become agitated. Move slowly and steadily.
Common Mistakes to Avoid When Using Queen Excluders
Even experienced beekeepers can make small missteps when using queen excluders. Here are the most common issues and how to prevent them:
1. Installing Too Early
If the colony is small or it’s too cold, bees may not want to pass through the excluder, resulting in a clogged or underused super. Wait until the hive population and temperature are ideal.
2. Forgetting to Locate the Queen
Never assume the queen is where she should be. If she ends up above the excluder, she’ll lay brood in the honey super, defeating the purpose of the setup.
3. Using a Dirty or Damaged Excluder
A sticky or corroded excluder can discourage worker bees from passing through. Clean it before use and check for any sharp edges that could harm bees.
4. Ignoring Bee Behavior Post-Installation
If bees cluster below the excluder or seem unusually agitated, something might be wrong. Check that the excluder is properly placed and not causing a traffic bottleneck.
Post-Installation Tips: Monitoring Your Hive
Once the excluder is installed, monitor your colony over the next few days or weeks:
- Check the honey super to ensure bees are storing nectar
- Watch for signs of queen presence below the excluder (look for eggs and larvae in the brood box)
- Perform regular hive inspections to make sure bees aren’t building comb on the excluder
- If your colony appears stressed or not progressing, consider removing or repositioning the queen excluder
Some beekeepers opt to remove the queen excluder later in the season once the super is well-filled, especially if it impedes bee flow during heavy nectar collection periods.
Should You Always Use a Queen Excluder?
There’s ongoing debate in the beekeeping community. While queen excluders offer great benefits in hive management, not all beekeepers use them. Some prefer natural brood patterns without barriers. Others find that excluders help keep hives cleaner and simplify honey harvesting.
It’s a matter of style, experience, and hive observation. Try it and see how your bees respond. The key is to always stay flexible and listen to your bees’ behavior.
Conclusion
Installing a queen excluder can be a smooth, non-disruptive task when approached with patience and preparation. With proper timing, clean equipment, and gentle movements—along with the right beekeeping suits to protect you during the process—you can successfully install a queen excluder without disturbing the colony, enhancing hive productivity and health.
Remember to:
- Choose the right time based on colony strength and weather
- Use the correct technique for safe, quick installation
- Monitor the hive carefully after installing the excluder
By following these steps, you’ll become more confident in your beehive setup and ensure your bees remain focused, productive, and well-managed.